Insulating and framing the Walls
Insulating the walls was a pretty easy task as the wall cavities are wonderful rectangles. We decided to leave the lower part of the wall 'as is' because we didn't want to jeopardize the frame of the bus any more than needed.
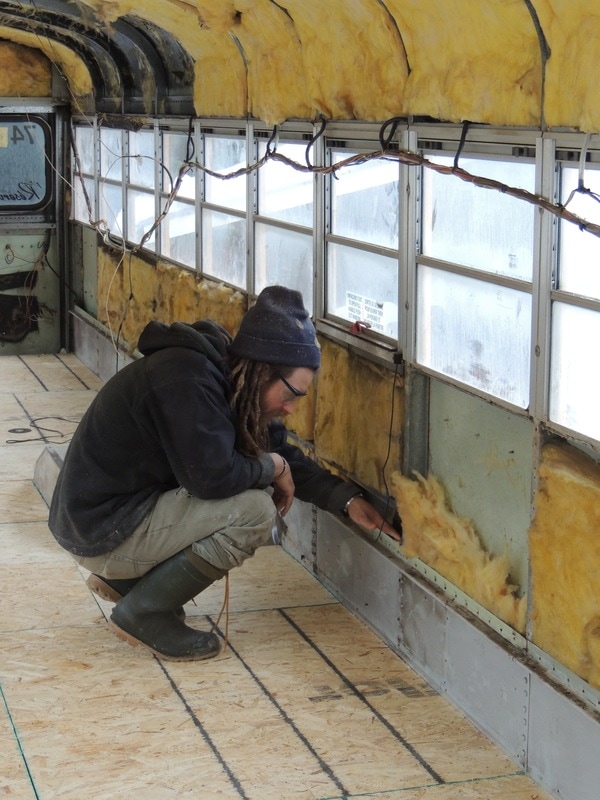
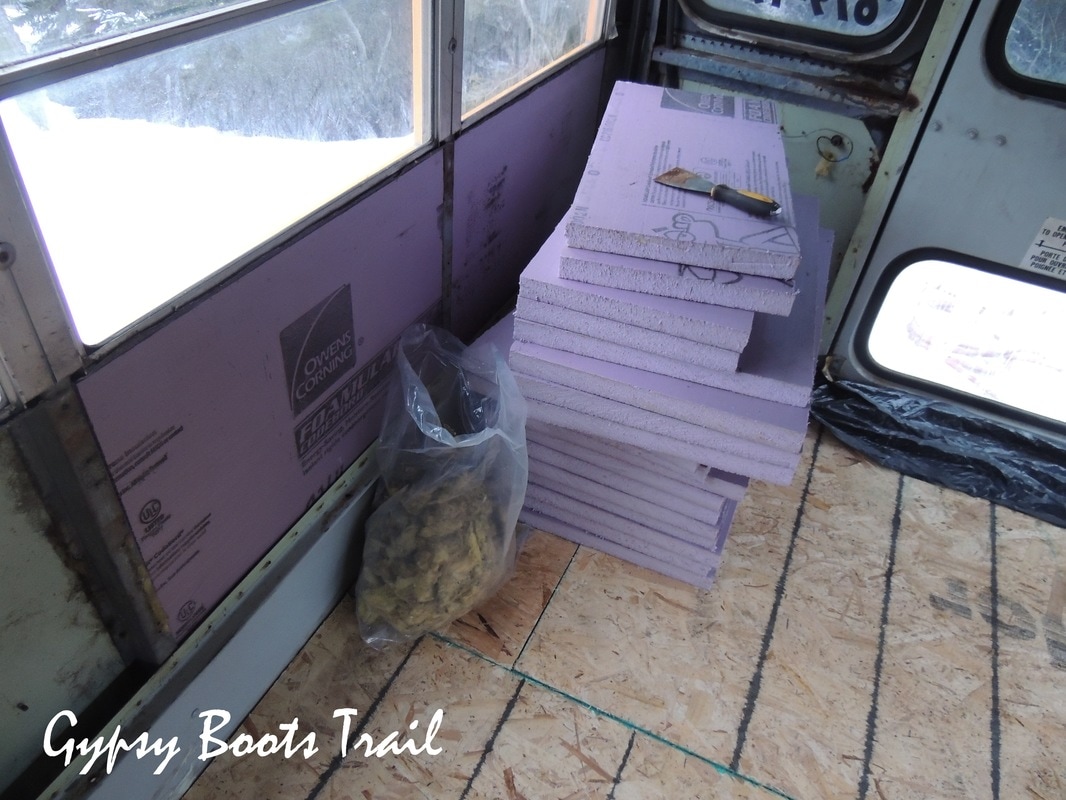
We used the yellow insulation to push down into the bottom of the walls… plus some of the insulation on the ceiling, making sure to get as mud has we could into it. Then we cut sections of 1.5 inch pink styrofoam to fit very tightly into the upper wall.
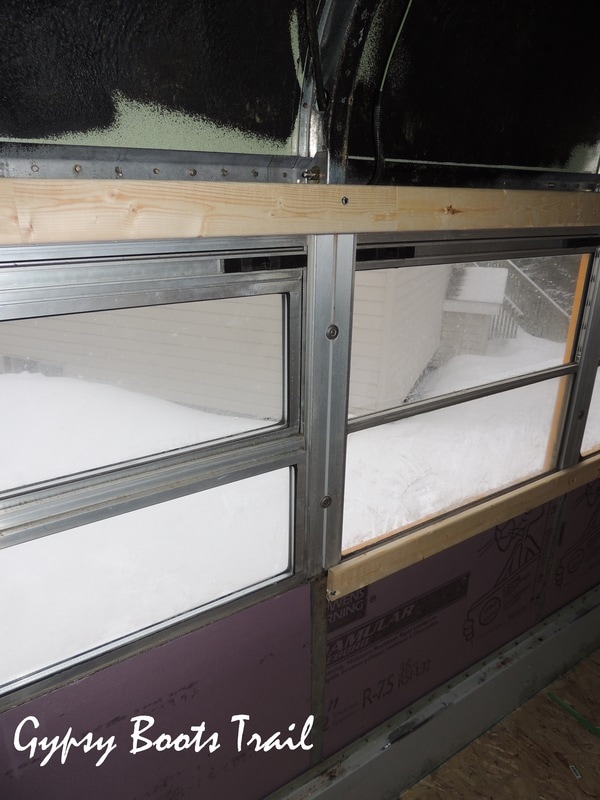
Framing the walls can be done a number of ways from what we've read about on the internet. Some people are more willing to lose width, but for us, we wanted to keep as much space as possible and so we opted to frame the upper wall and around the window with 1x2s. Using 1 1/4 inch self-tapping screws, we measured sections of 1X2 to meet at half way between the steel bus frame. There isn't anything substantial along the windows to screw into except the metal ribs. The framing had to go in after the insulation because it covered over it partly. The 1x2a lined up with the top and bottom of the window.
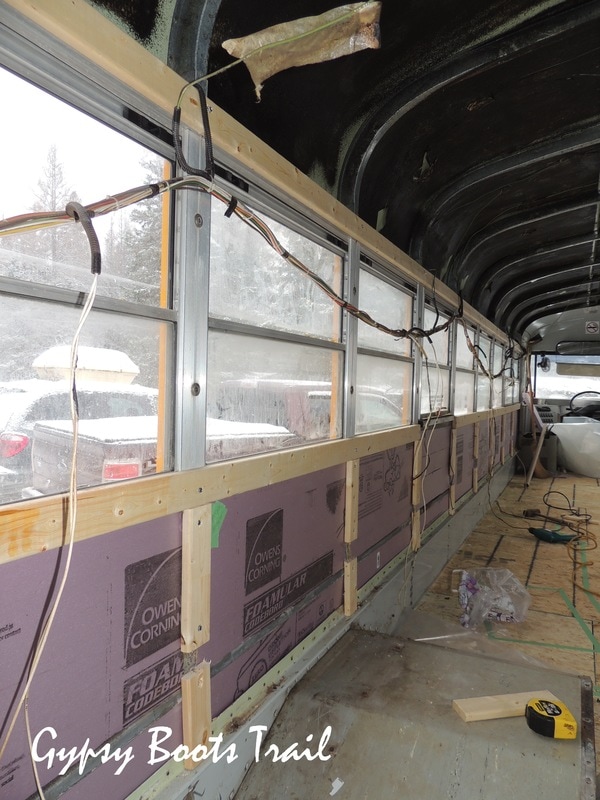
The last part of the wall framing was the vertical 1x2s. On one side of the bus we ran electrical for the receptacles along the wall and so our framing has a break in it which allows the wires to run behind the plywood wall. This you can see above. On the other side the 1x2 runs the full length, from the bottom window trim, down to the railing in which the seats had previously been attached to. Again, we simply attached these pieces of the frame to the metal ribbing of the bus with self-tapping screws.
 RSS Feed